

My dearest daughter was watching a YouTube video the one day where they made a leprechaun trap. Needless to say, she insisted we make one as well. As I looked online, I found some inspiration but not a lot of information regarding the whole idea of a Leprechaun Trap. As usual, my imagination kicked in. I decided I had to come up with a new tradition and a story to go along with this leprechaun trap. So here is the 4-1-1 on Leprechaun Traps.
Legend
Legend has it that on the eve of St. Patrick’s Day, the leprechauns visit peoples houses looking for gold coins. When they come looking, they often times wreak a little havoc. Leprechaun’s are sweet creatures, but they are also mischievous and like to play harmless tricks. Furthermore, it is almost impossible to catch a Leprechaun. They are super fast and have ninja-like reflexes. If you are lucky enough to catch one, you will live the rest of your life with infinite luck. This is why people make Leprechaun Traps. Although no one has been successful in catching one, people still try every year.
What Actually Happens
So this is the part where I found not a lot of information. I mean there were ton’s of examples of the traps themselves, but like, what happens on St. Patrick’s Day? Do I need to buy a little leprechaun and stuff him in the trap? How do I explain why the leprechaun isn’t moving? Did he die or lose his magic? I was confused. So I made up the legend and decided what was going to happen next.
On the night before St. Patrick’s Day, set up your trap in an accessible location. Ours is going to go on the kitchen table. We set our trap with some plastic, gold coins. Once your little one goes to bed, we are going to swap the plastic gold coins for chocolate gold coins. If you can’t find those, any type of candy would work. I had trouble finding some today when I went out and bought some Hershey kisses and nuggets as backup. I was also going to “wreck a little havoc” around the house, like draw mustaches on the pictures in the living room and maybe put some green footprints on the trap. It’s almost similar to an elf on the shelf prank.
When Sydney ask’s why we didn’t catch one, which she definitely will, I will explain how cunning leprechauns are and how no one has ever caught one before. Hopefully this will placate her, I’m sure the chocolate will help too.
Making a Leprechaun Trap
Now on to the “how-to”. So I surfed Pinterest for a bit to get some inspiration and came up with an idea for our trap. Below are step-by-step instructions.
Supplies
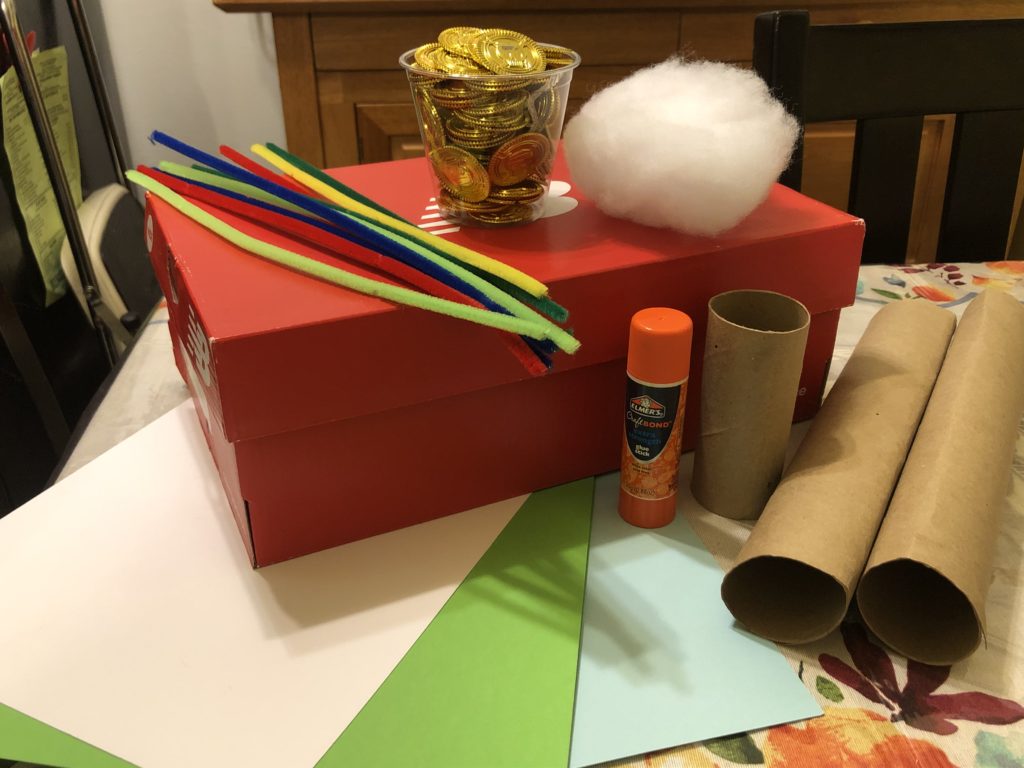
- 1 shoe box
- 1 paper towel role
- 6 colorful pipe cleaners
- makers or paints
- fluffy cotton or cotton balls
- assorted card stock
- hot glue gun
- clear plastic cup
- bag of plastic, gold coins
- scissors
- ruler
- pencil
- razor blade
Step 1
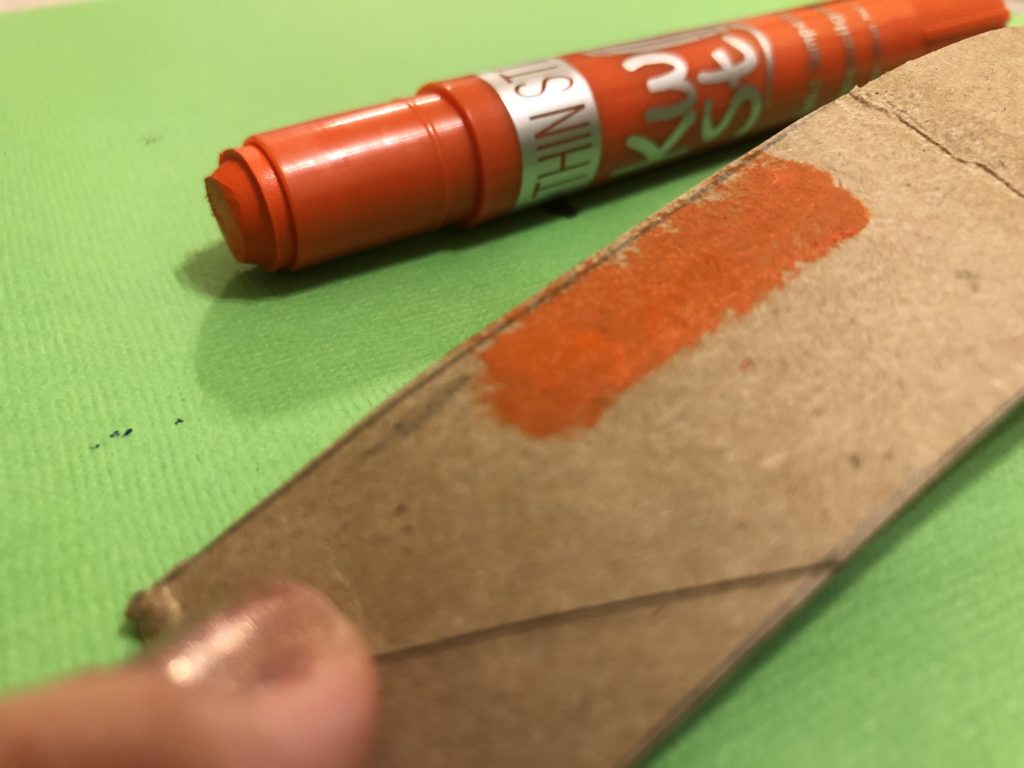
Decorate the card stock. First I had Sydney use Kwik Stix to create some designs on the cardstock. The great part about Kwik Stix is they are tempura paint and dry in 30 seconds. This means ZERO mess!
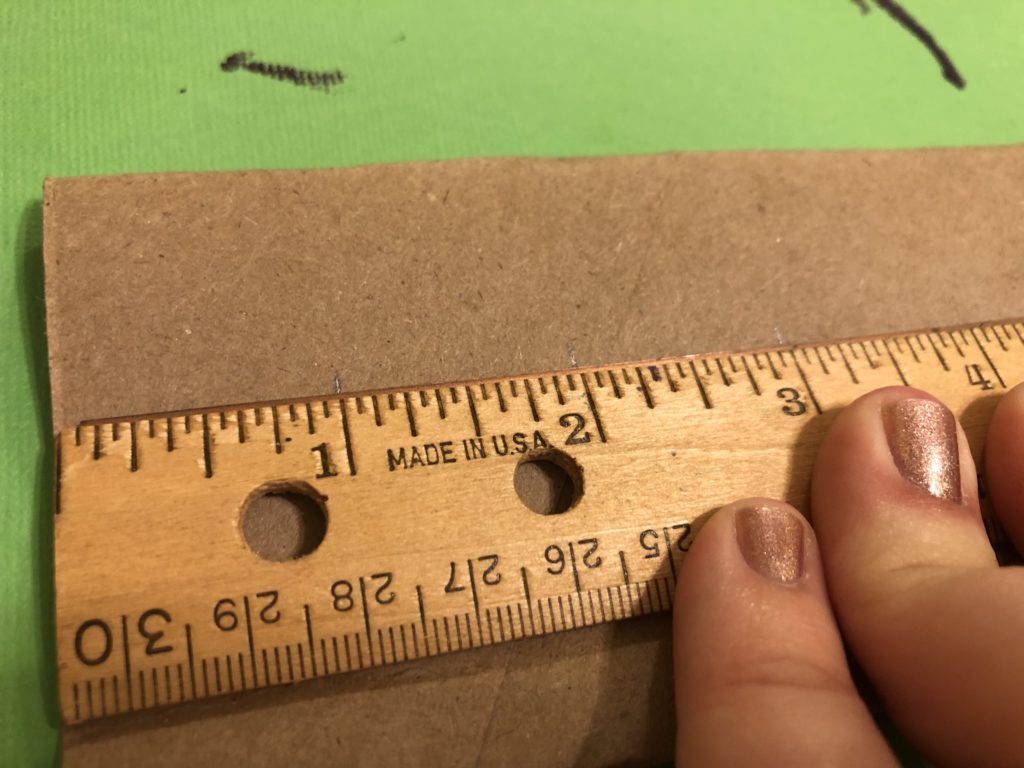
While Sydney is decorating, I cut a square hole in the lid of the shoe box, approximately 2 inches from the end.
Step 2
Next, we covered the shoe box with the paper Sydney had just decorated. It’s important to cover the lid of the box separately from the bottom so you are able to open the box. As you can see, our end result is slightly messy, but that’s crafting with a 3 year old. Don’t be worried about perfection.

Step 3
After the box is covered, it’s time to create the ladder. I used a total of 6 pipe cleaners. 2 for the sides of the ladder and 4 for the rungs of the ladder. I first cut 4 pipe cleaners in half. I only used 1/2 of these pipe cleaners, so the other half got saved for another project. Next, I laid the two whole pipe cleaners about 3 inches apart and placed the rungs on them. I glued the rungs in place with the hot glue and then twisted the leftover pipe cleaner around itself. Here is a picture midway through.

After the stairs are assembled, I attached them to the end of the shoe box opposite the hole.
Step 4
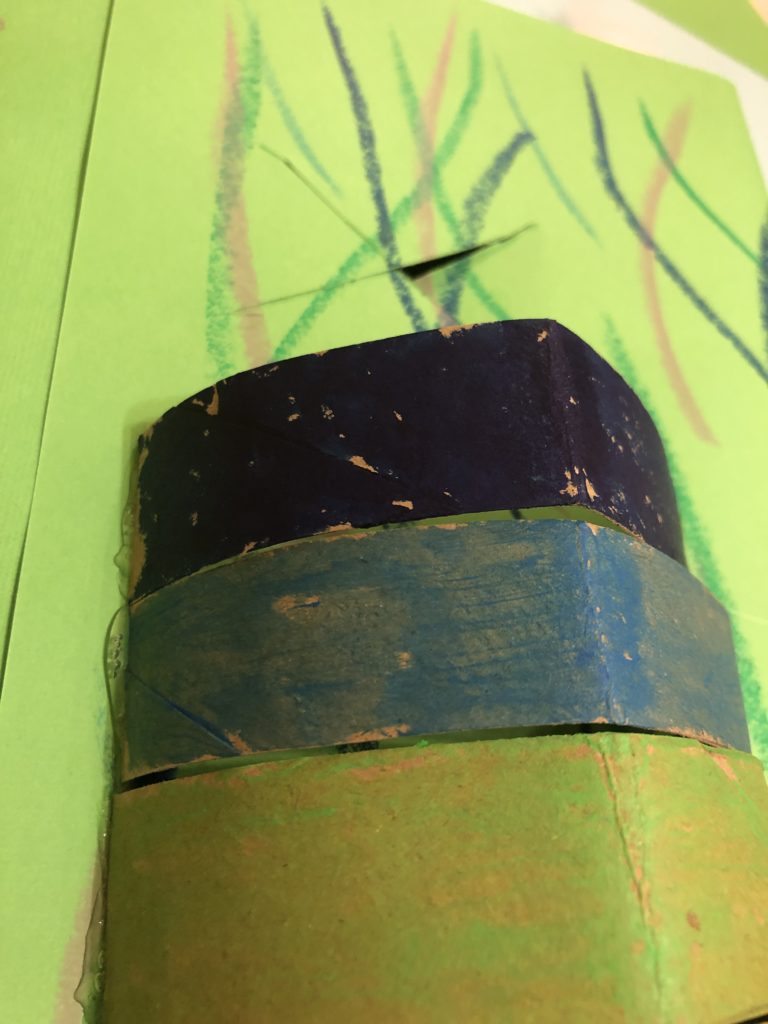
Now it’s time for the rainbow cave!! I took the paper towel role and folded it in half. I then marked one inch sections on the role and cut them.
Next, I cut the one end to open the tube. Finally, I painted each section a color of the rainbow.
Once the pieces were dry (again, 30 seconds with Kwik Stix!), I glued the ends to either side of the stairs moving back towards the hole in the shoe box.
Step 5
At this point, you are essentially done! The final steps include adding the cotton to the sides of the rainbow cave and filling your cup with the coins. As you can see, I added extra adornment in the back with a rainbow background. This was also done using Kwik Stix and cotton fluff. Also, don’t forget to cut through paper covering your hole so the leprechaun can fall into the trap.
Our Leprechaun Trap

I’d love to hear your feedback — leave a comment or question below!